
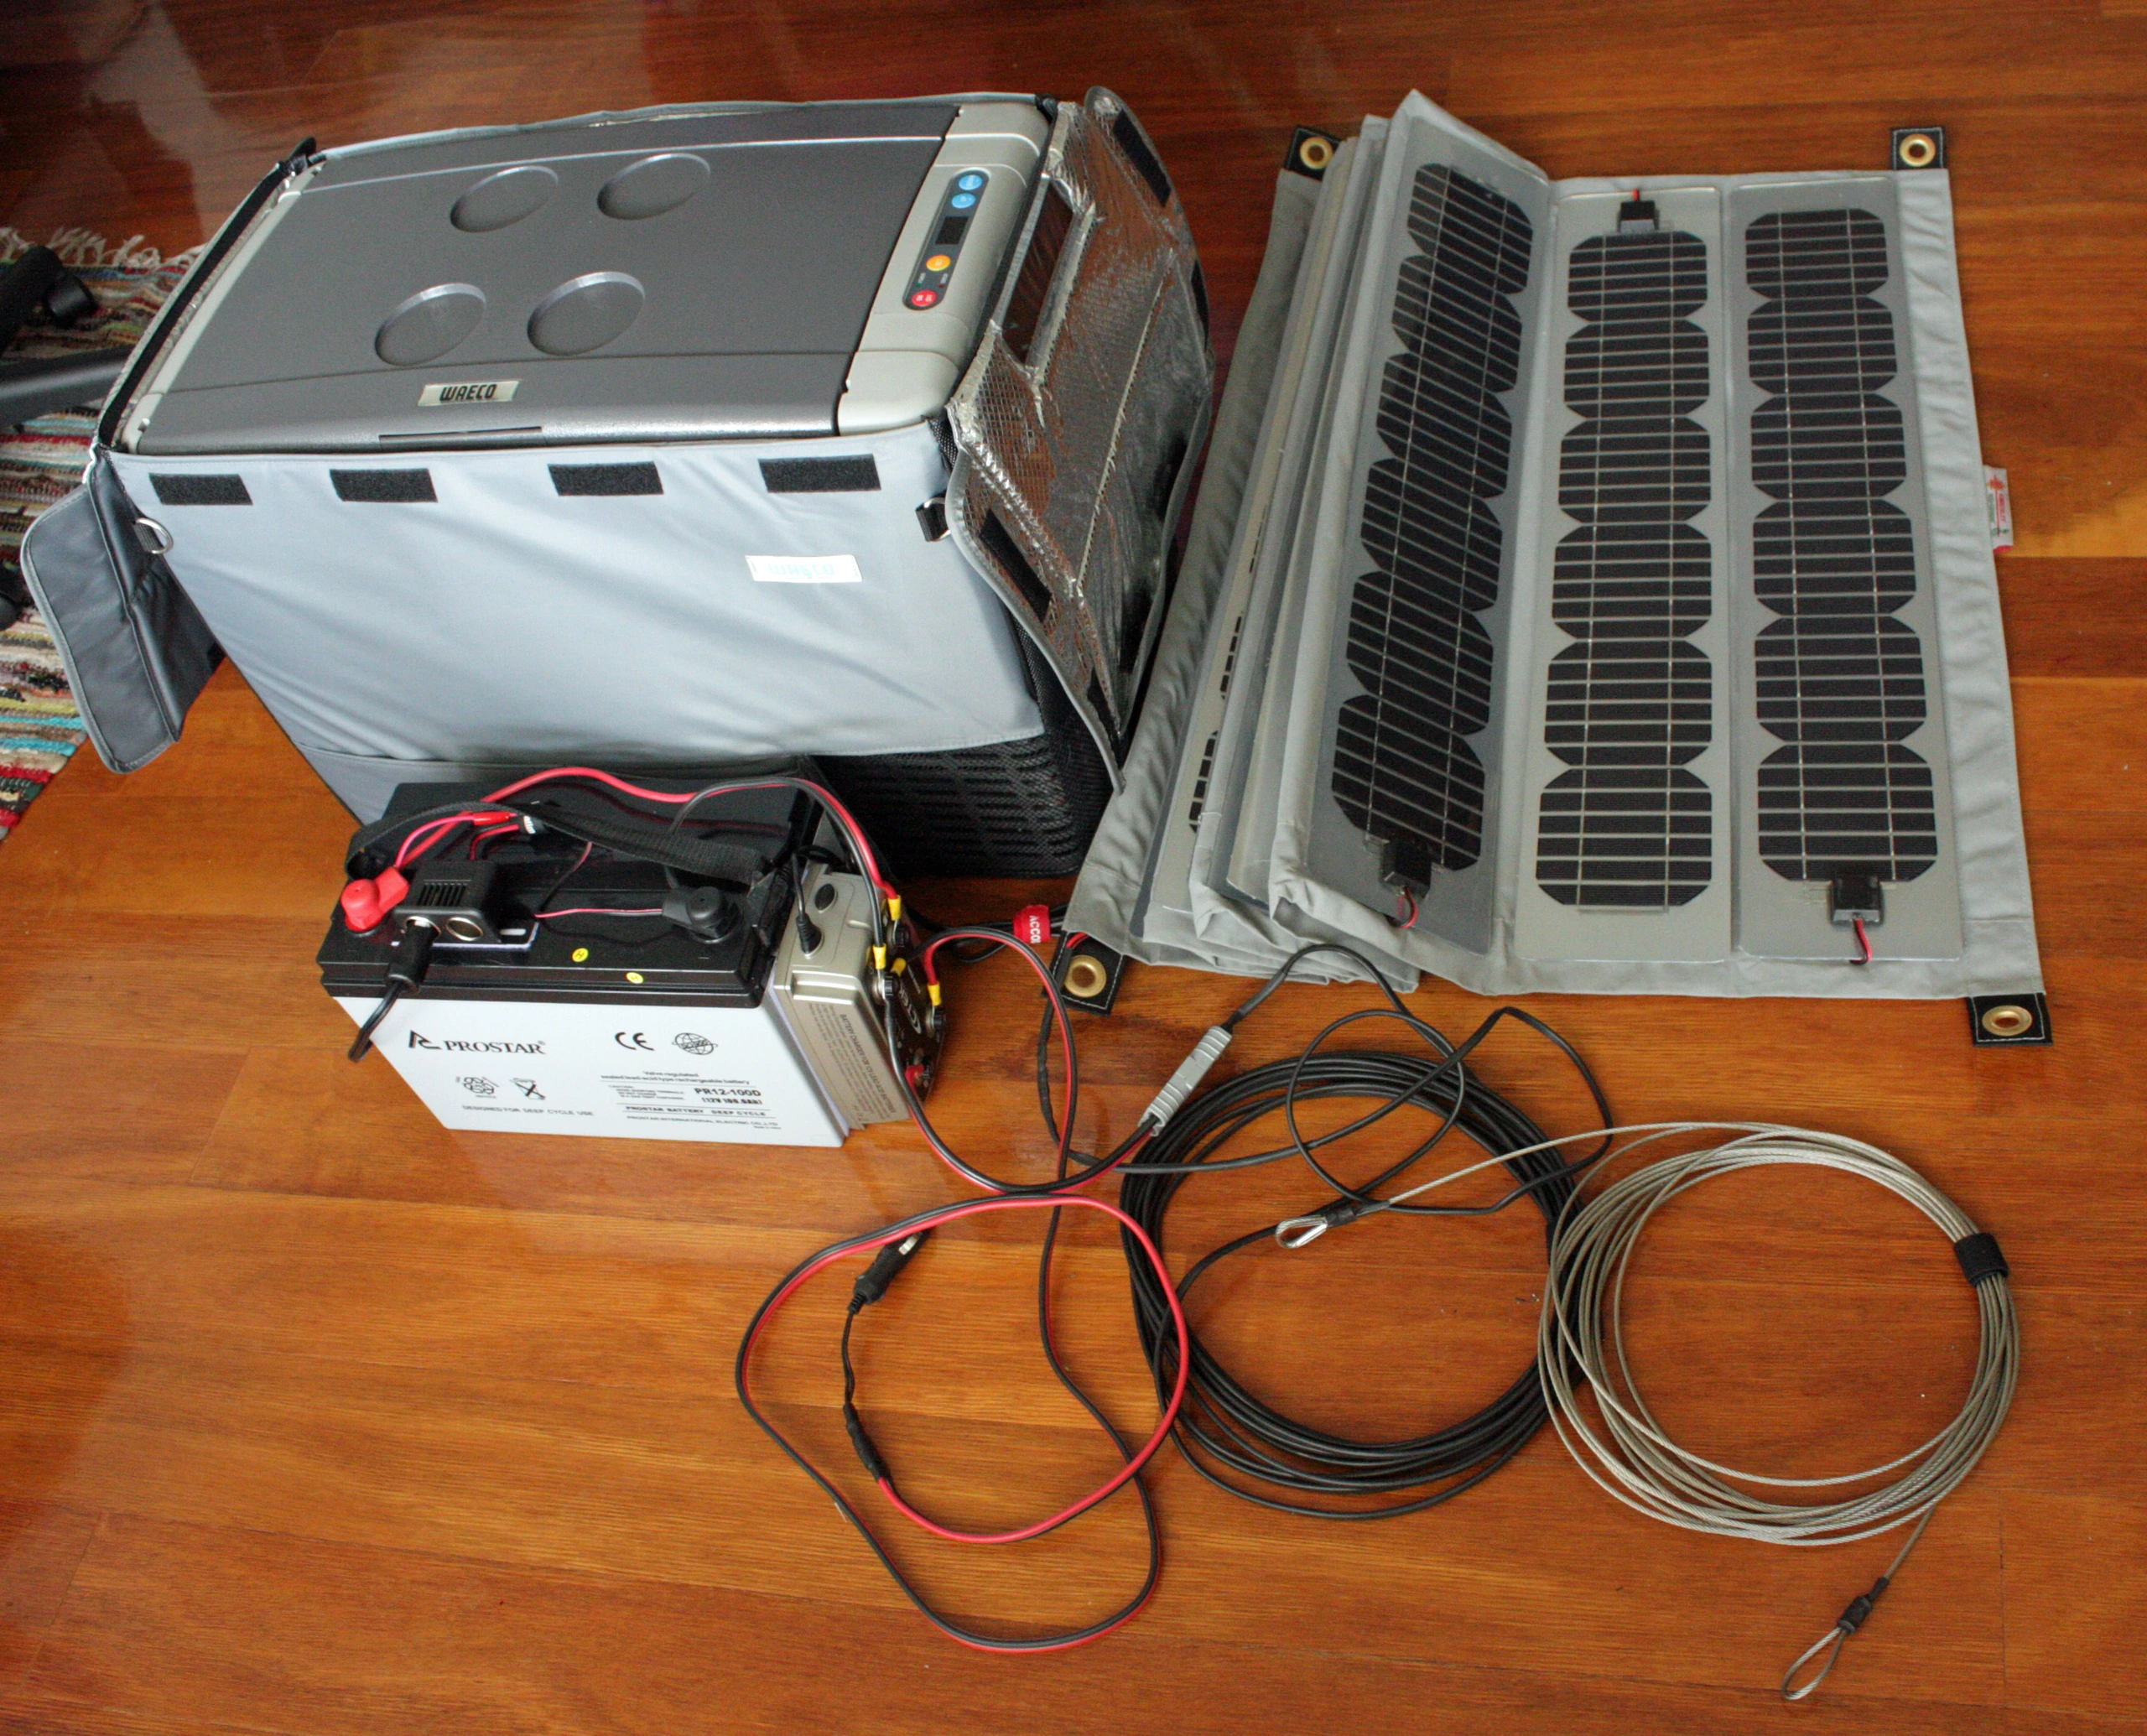
As more RV travelers enjoy boondocking—staying for days at campgrounds without electric hookups—solar power systems are no longer unfamiliar equipment. By keeping refrigerators, lights, phone charging, and small appliances running without a generator, roof-mounted panels have become essential gear for quiet camping.
How Much Do You Need?
The amount of generating capacity needed varies widely by camping style. For travelers who visit campgrounds on weekends, 200 to 400 watts of solar power is often enough. Full-time RV travelers who spend weeks at a time without electric hookups, on the other hand, commonly use systems in the 600- to 1,200-watt range. Individual panels generally produce 100 to 400 watts, while established 165- to 205-watt panels typically sell for about $100 to $220. High-efficiency models or panels made with specialized materials can cost as much as $650 each.
How to Choose Panels
One product that consistently ranks near the top in several recent reviews is the Renogy 200-watt monocrystalline panel. Its balance of durability and generation efficiency frequently puts it first in overall evaluations. The Victron 175-watt BlueSolar is often mentioned as an alternative for those seeking a premium finish, while the Rich Solar 200-watt panel is cited as a value-oriented option for budget-conscious buyers.
For travelers looking for portable panels, Renogy’s 200-watt portable model is often recommended for its easy setup and angle adjustment. Beginners installing solar for the first time are commonly directed to the Renogy 100-watt Starter Kit, which includes wiring and a controller in one package and is considered an accessible entry point. For a portable power setup without separate roof installation, RV campers often mention pairing a Jackery 200-watt panel with an Explorer 1000 Plus power station.
What Else You Need Besides Panels
Simply putting panels on the roof will not charge the system on its own. A charge controller is needed to regulate incoming current for the battery. In general, MPPT controllers convert power more efficiently than PWM controllers, allowing the same panels to put more power into the battery. Lithium iron phosphate (LiFePO4) batteries are also clearly gaining ground over traditional lead-acid batteries, mainly because they are lighter and their service life is less affected by deeper discharge.
Installation generally falls into two categories: fixed roof-mounted systems and portable systems. Fixed panels can charge while the RV is on the move, but output can drop sharply at heavily wooded campgrounds when panels are shaded. Portable panels offer more flexibility because the RV can remain parked in the shade while the panels are moved into sunlight, though they must be set up and packed away each time. More travelers are using both approaches.
It is also important to account for the fact that solar production can fall significantly on cloudy days or at campgrounds with deep tree cover. Rather than relying entirely on solar, many travelers keep a small generator or vehicle-alternator charging capability as a backup. When heading to an area forecast to have several consecutive cloudy days, fully charging batteries before departure and reducing unnecessary power use can also help.
Estimating the Cost
Total system cost varies considerably with panel capacity, battery type, and whether an inverter is included. A 200-watt-class kit for modest weekend camping, including panels, a controller, and wiring, can be assembled for a few hundred dollars. A 1,000-watt-class system for full-time use, with a lithium battery bank and pure sine wave inverter, requires a much larger budget. Whether installation can be handled yourself or must be done by a professional also affects the total cost. For a first system, starting small, tracking actual power-use patterns, and adding panels and batteries as needed can help avoid overspending.
Whatever combination you choose, begin by listing the appliances you actually use and calculating your average daily electricity consumption. Separating equipment that runs all day, such as a refrigerator, from equipment that draws high power briefly, such as a microwave, helps determine the necessary battery capacity and inverter output. That can prevent both buying an unnecessarily oversized system and being limited by one that is too small.
What to Check Before Installation
If you choose to mount panels permanently on the roof, first check the RV roof material and load capacity. An older vehicle may have a weakened roof waterproofing layer, so it is wise to inspect the silicone sealant before fastening panel brackets. When routing wiring from the roof to the interior battery compartment, make sure the cable gauge matches the current load. Undersized cable can increase voltage loss and waste the power the system worked to generate.
If you are not comfortable doing the installation yourself, an RV repair shop or solar specialist can handle it. Regardless of how it is installed, check the actual output on a clear day using the display or controller screen, then compare it with the capacity originally calculated. That process provides a much clearer basis for deciding whether to add panels or batteries for the next camping season.
Photo: Stephan Ridgway from Brisbane, Australia / Original photo. CC BY 2.0. Photo date: 2011-01-26 14:47. Resized and compressed for display.
